
Introduction
MySQL is one of the most popular open-source relational database management systems in the world. It possesses countless applications ranging from web development to data analytics. When using MySQL, it’s often necessary to create new users with specific privileges to perform tasks such as modifying tables, running queries, or managing databases. In this guide, you will acquire insights into step-by-step processes that help to create new MySQL user and grant privileges to them for performing their intended tasks. Whether you’re a newbie or a proficient MySQL user, this guide will provide you with a comprehensive understanding of how to create and manage MySQL users effectively. Let’s get started!
How to Create New MySQL User?

Following are the steps to create a new MySQL user:
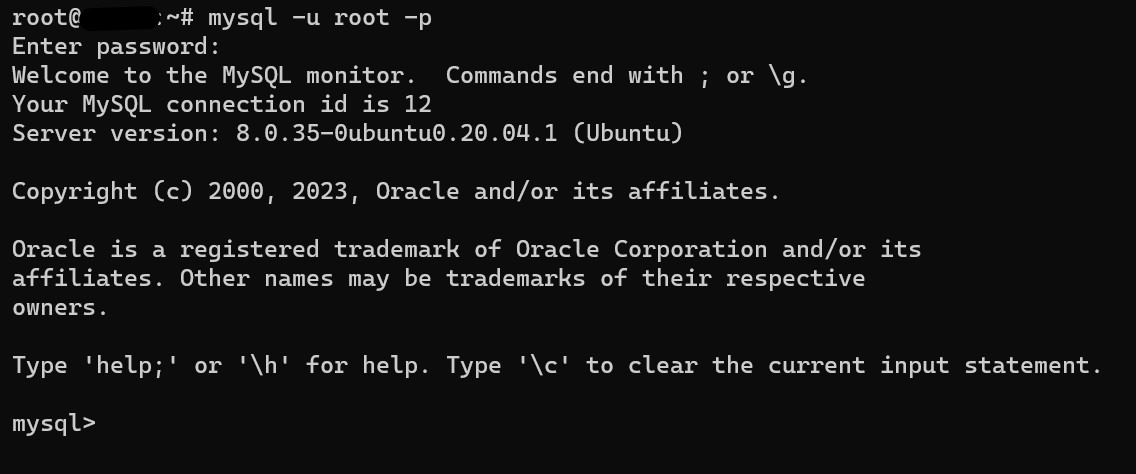
1. Login to MySQL: First, login to MySQL using the command-line interface by typing the following command:
mysql -u root -pHere, the root is the MySQL root user, and -p prompts for the password.

2. Create a new user in MySQL: To create a new user, use the following command:
CREATE USER 'new_user'@'localhost' IDENTIFIED BY 'password';Here, new_user is the username for the new user, and the password is the password for the new user.

3. Grant privileges: After creating a new user in MySQL, you need to grant privileges to the new user. For example, to grant all privileges to the new user, use the following command:
GRANT ALL PRIVILEGES ON *.* TO 'new_user'@'localhost';Here, *.* denotes all databases and tables, and ‘new_user’@’localhost’ is the username and host for the new user.

4. Reload privileges: After granting privileges to the new user, reload the privileges using the following command:
FLUSH PRIVILEGES;
This command ensures that the new user can immediately access the databases and tables.
That’s it! You have successfully created a new MySQL user and granted privileges to the user.
How to Grant Permissions in MySQL?

When creating a new MySQL user, it is important to set appropriate permissions to limit or grant access to the database. Permissions are actions that the user can perform on the database, such as inserting, deleting, creating, dropping, selecting, updating, and modifying privileges of other users.
- The ‘All Privileges’ permission grants full access to the database, while other permissions can be granted individually or in combination based on the requirements.
- The ‘Insert’ permission allows the user to add new rows to tables, while the ‘Delete’ permission lets them remove existing rows.
- The ‘Create’ permission enables the user to create new tables and databases, and the ‘Drop’ permission allows them to delete entire tables or databases.
- The ‘Select’ permission gives access to the ‘SELECT’ command, which allows the user to read information from the database.
- The ‘Update’ permission allows the user to modify existing rows in tables.
- The ‘Grant Option’ permission allows the user to modify the privileges of other MySQL users.
By setting appropriate permissions for each user, you can ensure that your MySQL database is secure and accessible only to authorized users.
Also Read: How to Delete or Drop a Table in MySQL
Granting permissions in MySQL allows a user to perform specific actions on a database or its objects. Following are the steps on how to grant permissions in MySQL:
1. Log in to MySQL as a root user:
mysql -u root -p
2. Once you are logged in, create a new MySQL user account by running the following command:
CREATE USER 'new_user'@'localhost' IDENTIFIED BY 'password';In the above command, replace ‘new_user’ with the username you want to create and ‘password’ with a secure password for the user.

3. Grant specific permissions to the user by running the following command:
GRANT SELECT, INSERT, UPDATE ON database_name.* TO 'new_user'@'localhost';In the above command, replace ‘database_name’ with the name of the database that you want to grant access to. You can also replace the permissions as per your requirement.
4. If you want to grant all the permissions to the user, run the following command:
GRANT ALL PRIVILEGES ON database_name.* TO 'new_user'@'localhost';5. Once you have granted the necessary permissions, you need to save the changes by running the following command:
FLUSH PRIVILEGES;6. Verify that the user has the necessary permissions by running the following command:
SHOW GRANTS FOR 'new_user'@'localhost';This will display all the permissions granted to the user.
That’s it! You have successfully granted permissions to a MySQL user.
MySQL User Management

How to List MySQL User Account-Privileges
To list all MySQL user accounts with their corresponding privileges, follow these steps:
- Open the MySQL command line client or any other MySQL client tool such as phpMyAdmin.
- Log in as a root user or with any other user who has the privilege to view user accounts and their privileges.
- Execute the following SQL query:
SELECT user,host,authentication_string,plugin,GRANT_PRIVILEGES FROM mysql.user;This query will return a table of all user accounts, their host, authentication method, plugin, and granted privileges.
How to Grant All Privileges on a Database in MySQL
To grant all privileges on a database to a user in MySQL, follow these steps:
- Log in to the MySQL command line client or any other MySQL client tool.
- Select the database that you want to grant all privileges to by executing the following command:
USE database_name;- Create a new user account in MySQL or use an existing one by executing the following command:
CREATE USER 'username'@'localhost' IDENTIFIED BY 'password';Replace ‘username’ and ‘password’ with your desired username and password.
- Grant all privileges on the selected database to the user by executing the following command:
GRANT ALL PRIVILEGES ON database_name.* TO 'username'@'localhost';This will grant all privileges on all tables and other database objects in the selected database to the user.
Revoke Privileges MySQL User Account
To revoke privileges from a MySQL user account, follow these steps:
- Log in to the MySQL command line client or any other MySQL client tool.
- Select the user account that you want to revoke privileges from by executing the following command:
SELECT * FROM mysql.user WHERE user='username';Replace ‘username’ with the username of the account that you want to revoke privileges from.
- Revoke the privileges that you want to remove by executing the following command:
REVOKE privilege_type ON database_name.* FROM 'username'@'localhost';Replace ‘privilege_type’ with the privilege that you want to revoke, such as SELECT, INSERT, UPDATE, or DELETE.
Remove an Entire User Account
To remove an entire MySQL new user account, follow these steps:
- Log in to the MySQL command line client or any other MySQL client tool.
- Revoke all privileges from the user account by executing the following command:
REVOKE ALL PRIVILEGES, GRANT OPTION FROM 'username'@'localhost';Replace ‘username’ with the username of the account that you want to remove.
- Delete the user account by executing the following command:
DROP USER 'username'@'localhost';Replace ‘username’ with the username of the account that you want to remove.
Also Read: How to List Users and Groups in Linux? {4 Easy Ways}
Conclusion
Creating a new MySQL user and granting privileges is a fundamental task for database administrators and developers. It is a paramount step in ensuring the security and performance of a MySQL database. With the detailed steps provided in this guide, users can easily create new MySQL users and grant privileges to them. By following best practices and using the appropriate permissions, users can limit access to sensitive information and prevent unauthorized modification of data. As with any database management task, it is necessary to ensure that all actions are carefully planned and executed. This helps in maintaining data integrity and avoiding potential security risks.