
Preface
In the world of web servers, Nginx stands out as a powerful and efficient solution for serving web content. If you’re running Ubuntu 20.04 and looking to harness the capabilities of Nginx, you’re in the right place. This guide will walk you through the installation and configuration process step by step, ensuring a smooth setup of Nginx on your Ubuntu 20.04 system.
How to Install and Configure Nginx on Ubuntu

Nginx, celebrated for its robust performance and versatility, takes the stage as a prominent web server for hosting dynamic content and applications. This guide is a comprehensive journey through the installation and configuration of Nginx on Ubuntu 20.04, exploring advanced concepts such as customizing server blocks, enabling caching, implementing load balancing, configuring the firewall, and establishing monitoring and logging practices.
Step 1: Installing Nginx on Ubuntu 20.04
The installation process begins by executing sudo apt update, a crucial step that ensures your system’s package index is synchronized with the latest software versions available. This synchronization is vital for acquiring the most recent information about packages, dependencies, and updates.
sudo apt update
This step ensures that the package manager fetches the most recent information about available packages.
With the package index now up-to-date, proceed to install Nginx by executing sudo apt install nginx. This command not only installs Nginx on your system but also guarantees that the latest version of the web server is obtained. This commitment to obtaining the most recent iteration ensures that your Nginx installation benefits from the latest features, security patches, and optimizations available in the Ubuntu repository. This proactive approach sets the foundation for a secure, up-to-date, and feature-rich Nginx web server on your Ubuntu 20.04 system.
sudo apt install nginx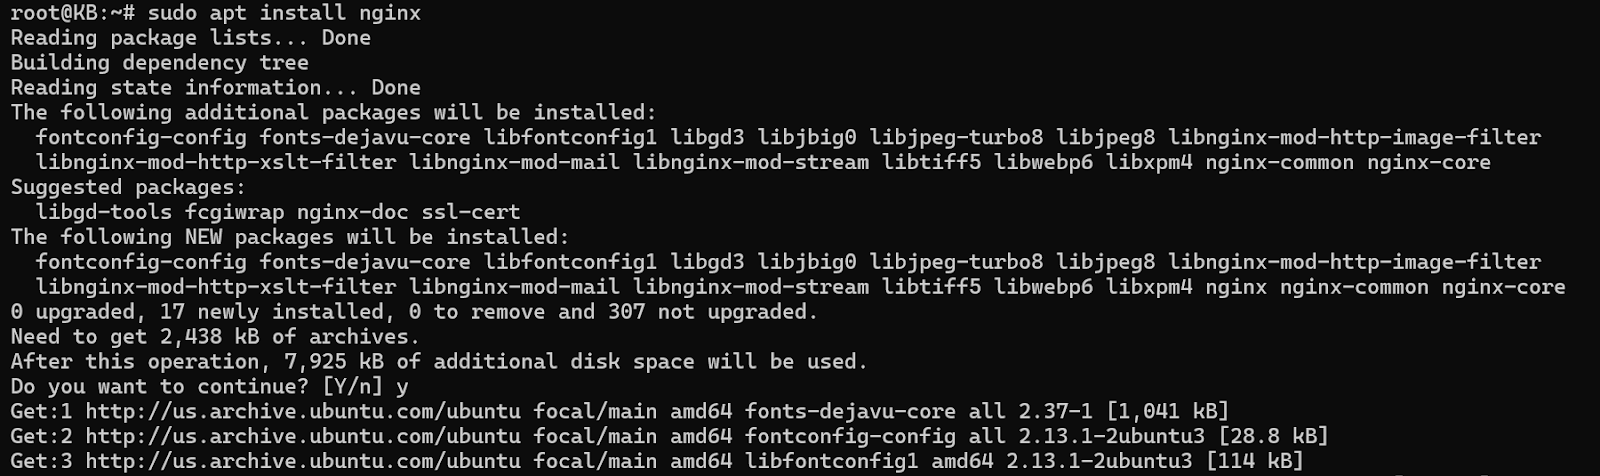
Step 2: Starting Nginx
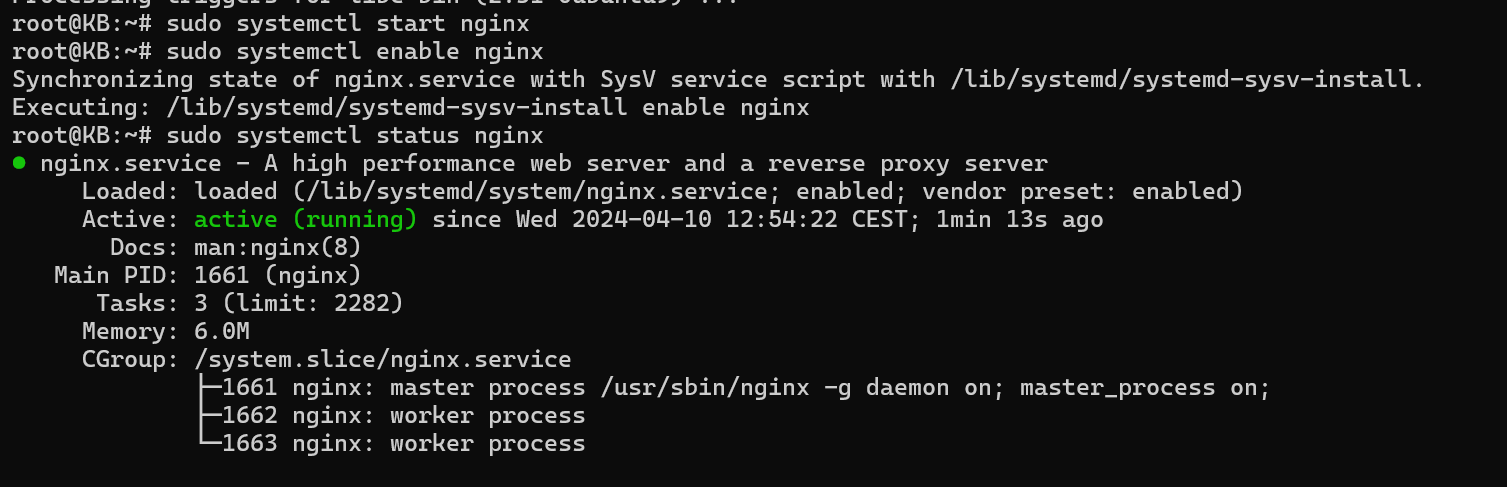
With Nginx successfully installed, the next pivotal step is to initiate the Nginx service using the sudo systemctl start nginx command. This command kickstarts the web server, allowing it to actively listen for incoming requests and serve web content.
sudo systemctl start nginxTo ensure a persistent and uninterrupted web service, it’s essential to configure Nginx to start automatically upon system boot. This is achieved by enabling the Nginx service with the sudo systemctl enable nginx command. By executing this command, you are setting up Nginx to launch seamlessly whenever your system reboots. This proactive measure ensures continuous availability, enhancing the reliability of your web server for users and applications alike. The combination of starting and enabling the Nginx service sets the stage for a robust, always-on web hosting environment on your Ubuntu 20.04 system.
sudo systemctl enable nginxBy enabling the service, you guarantee that Nginx launches whenever your system reboots, providing a continuous and seamless web service.
Step 3: Customizing Server Blocks
Delving into the intricate world of server customization, we navigate to the Nginx configuration directory using cd /etc/nginx/sites-available. Here lies the canvas for creating a tailored environment for each hosted website or application.

Creating a new configuration file for your website using sudo nano your_domain opens the gateway to customization. Within this file, a plethora of settings can be tailored to specific needs. Adjustments can include defining the server name, specifying the document root, implementing access control rules, and configuring other parameters specific to your application or website.
This level of flexibility ensures that each virtual host is uniquely configured to meet the distinct requirements of your projects. Whether you’re hosting multiple websites on a single server or managing a complex web application, the ability to customize settings at this granular level is indispensable.
After fine-tuning the server block configurations, create a symbolic link to enable the site:
sudo ln -s /etc/nginx/sites-available/your_domain /etc/nginx/sites-enabled
This symbolic link establishes a connection between the configuration file in the sites-available directory and the sites-enabled directory, allowing Nginx to recognize and serve the specified virtual host.
To apply these configuration changes, restart Nginx:
sudo systemctl restart nginx
This restart ensures that the newly configured server block is actively applied, bringing your tailored settings to life. The combination of directory organization, symbolic linking, and restarting Nginx encapsulates a seamless process for customizing server blocks, providing a foundation for a diverse and precisely configured hosting environment on your Ubuntu 20.04 system.
Step 4: Enabling Caching
Embarking on the journey to optimize server performance, we delve into the realm of caching within Nginx. The focal point is the main Nginx configuration file located at /etc/nginx/nginx.conf. Opening this file with sudo nano /etc/nginx/nginx.conf unveils the intricate settings that govern the behavior of your Nginx web server.
Within the http block of the configuration file, we introduce a caching directive to unleash the power of server-side caching:
fastcgi_cache_path /var/cache/nginx levels=1:2 keys_zone=YOUR_CACHE_NAME:100m inactive=60m;This directive configures the caching mechanism, specifying the cache path, directory levels, a named zone for caching (YOUR_CACHE_NAME), the allocated memory size (100 megabytes in this instance), and the inactive period during which cached data is retained (60 minutes).
The flexibility to customize these parameters allows you to tailor caching to your server’s resources and specific requirements. Adjust the cache zone size based on the available memory and the expiration time according to your content update frequency.
After customizing the caching directive, save the file. To apply these caching configurations, restart Nginx:
sudo systemctl restart nginxThis restart ensures that the caching directives are actively implemented, enhancing the server’s performance by reducing response times and mitigating the load on backend resources. The integration of caching into your Nginx configuration not only optimizes the user experience by delivering content more swiftly but also contributes to efficient resource utilization on your Ubuntu 20.04 server.
Step 5: Load Balancing
Venturing into the prowess of Nginx, we unveil its exceptional capabilities in the arena of load balancing—a pivotal feature that enhances the efficiency, performance, and reliability of web servers. Load balancing is the strategic distribution of incoming traffic across multiple servers, preventing bottlenecks and ensuring optimal utilization of resources.
Configuring load balancing with Nginx involves adapting your server block configuration or employing a dedicated configuration file tailored to your specific load balancing needs. This adaptability allows you to craft a solution that aligns precisely with the demands of your application or website.
In this configuration, consider implementing a load balancing algorithm. Nginx provides several options, starting with the default Round Robin method. This straightforward approach distributes incoming requests evenly across the available servers, ensuring a balanced workload.
For more advanced scenarios, Nginx offers sophisticated load balancing methods such as Least Connections, IP Hash, or even custom load balancing based on specific application requirements. These methods enable you to fine-tune the distribution of requests, accommodating scenarios where server capacities differ or certain servers should handle specific types of requests.
As you delve into load balancing configurations, the goal is to optimize resource usage, enhance response times, and fortify the reliability of your server infrastructure. Nginx’s flexibility in load balancing is a testament to its versatility, making it a preferred choice for applications and websites with dynamic traffic patterns and varying server capacities.
Step 6: Firewall Configuration
Fortifying your server’s security entails ensuring your firewall permits traffic on Nginx ports. If UFW is your firewall management tool of choice, open up HTTP and HTTPS traffic:
sudo ufw allow 'Nginx Full'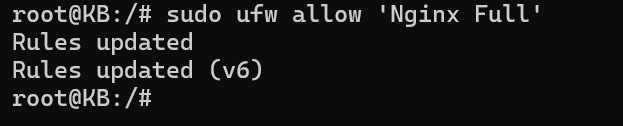
Reload the firewall to enact these changes:
sudo ufw reloadThis step ensures not only the security of your server against unauthorized access but also the smooth flow of legitimate traffic.
Step 7: Monitoring and Logging
Elevate your Nginx administration by implementing robust monitoring and logging practices. Monitor the error log in real-time:
sudo tail -f /var/log/nginx/error.log
Continuous monitoring allows you to promptly identify and rectify errors, ensuring the stability and reliability of your Nginx server. Consider implementing a comprehensive monitoring solution to track server performance, resource utilization, and potential issues.
Implement tools like Logrotate to manage log rotation and retention, preventing log files from consuming excessive disk space over time. Regularly reviewing logs is essential for maintaining a healthy and secure Nginx environment.
Also Read: How to Start, Stop, and Restart Nginx in Linux? (2 Methods)
Conclusion
In concluding our comprehensive guide on installing and configuring Nginx on Ubuntu 20.04, we’ve embarked on a transformative journey in web server management. Beginning with the meticulous installation steps, where the Ubuntu Install Nginx process ensures the latest version is at your fingertips, we moved seamlessly into the realm of customization. The configuration of server blocks allows for a tailored hosting environment, accommodating multiple websites on a single server. As we delve into advanced optimizations like enabling caching and implementing load balancing, the Ubuntu-based Nginx installation proved itself as a robust solution for varying web hosting needs.
The commitment to security was evident in configuring the firewall to allow specified traffic, fortifying the server against potential threats. Elevating server administration practices through monitoring and logging not only ensures real-time insights into server health but also empowers administrators to maintain a stable and secure Nginx environment. In embracing Nginx on Ubuntu, this journey converges at the intersection of performance and precision, offering a reliable, performant, and secure web hosting experience for single websites or complex web applications. The Nginx Install Ubuntu journey, marked by technical prowess and versatility, opens doors to a world of possibilities in web server management and optimization, culminating in a happy hosting experience.