Introduction
Are you up for employing the power of PostgreSQL on your Windows system? In this exhaustive guide, you will be able to apprehend the step-by-step process of installing PostgreSQL, acquiring an assured smooth setup for your database needs. Whether you’re a seasoned developer or a newcomer to the world of databases, our instructions will help you effortlessly install PostgreSQL on your Windows machine.
Also Read: How to Install Maven on Windows
Steps to Download and install PostgreSQL for Windows
Follow these 17 meticulous steps for a seamless PostgreSQL installation on your Windows machine.
Step 1: Navigate to the PostgreSQL Official Website
To initiate the PostgreSQL installation on your Windows system, your first step is to visit the official website (https://www.postgresql.org/download/windows/). Here, you’ll find the most up-to-date version of PostgreSQL optimized for Windows, ensuring a smooth and efficient installation process.
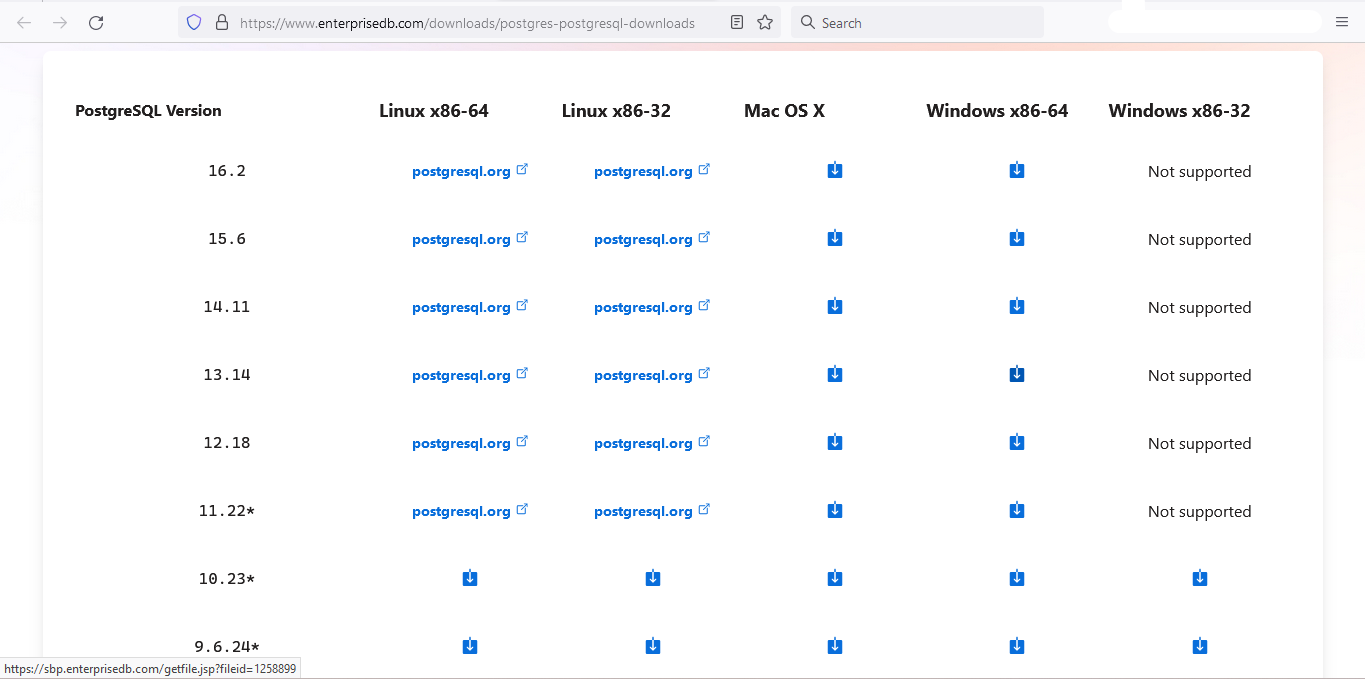
Step 2: Choose the Appropriate Version
Take a moment to assess your project’s specific requirements before selecting the PostgreSQL version tailored for Windows. The website provides various options, allowing you to customize your installation based on factors like stability and feature compatibility.
Step 3: Download the Windows Installer
Once you’ve chosen the ideal version, proceed by selecting the appropriate Windows installer (32-bit or 64-bit). This executable file, denoted by the “.exe” extension, is your key to initiating the PostgreSQL installation process on your Windows operating system.

Step 4: Initiate the Installer
Execute the downloaded installer to unveil the PostgreSQL Installation Wizard. This wizard serves as your guide through the installation process, providing essential configurations for PostgreSQL on your Windows machine. Follow each prompt carefully for a successful setup.
Step 5: Welcome Screen

The wizard’s welcome screen introduces you to the PostgreSQL installation on Windows. This initial step offers an overview of the upcoming installation process. Click “Next” to delve deeper into the configuration details and move forward with the installation.
Step 6: Choose Installation Directory
Optimize your PostgreSQL installation by choosing the installation directory. For most users, the default directory is suitable. However, if you have specific preferences, feel free to choose a custom location to organize your PostgreSQL installation efficiently on your Windows system.

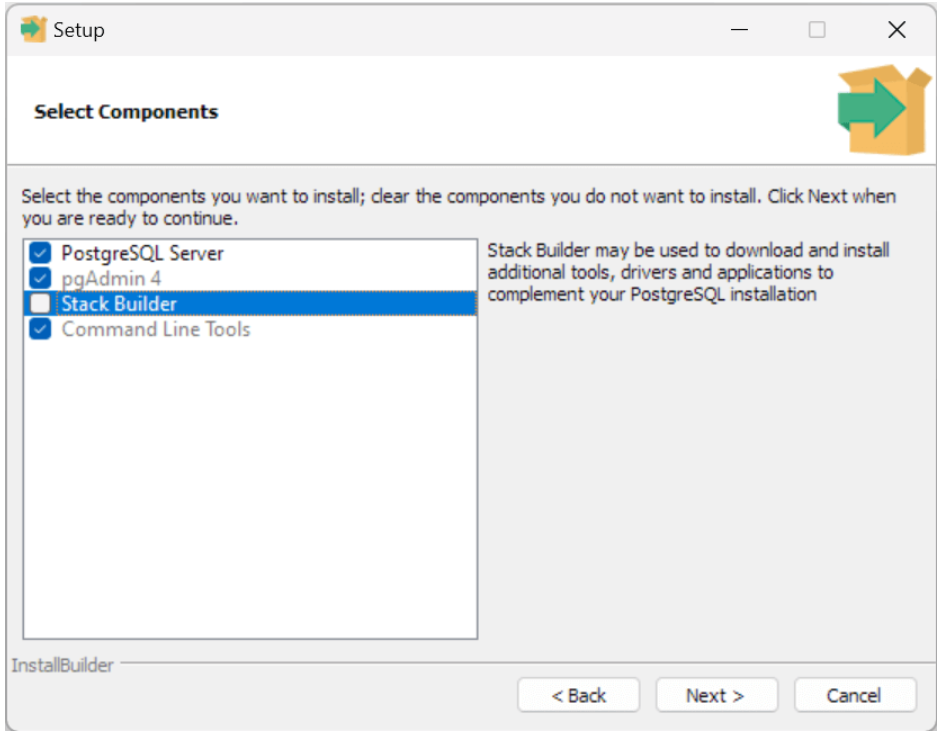
Step 7: Select Components
Tailor your PostgreSQL installation by selecting the elements that match with your project’s necessities. This step empowers you to customize the installation with command-line tools, spatial extensions, and other components crucial for your specific requirements on Windows.
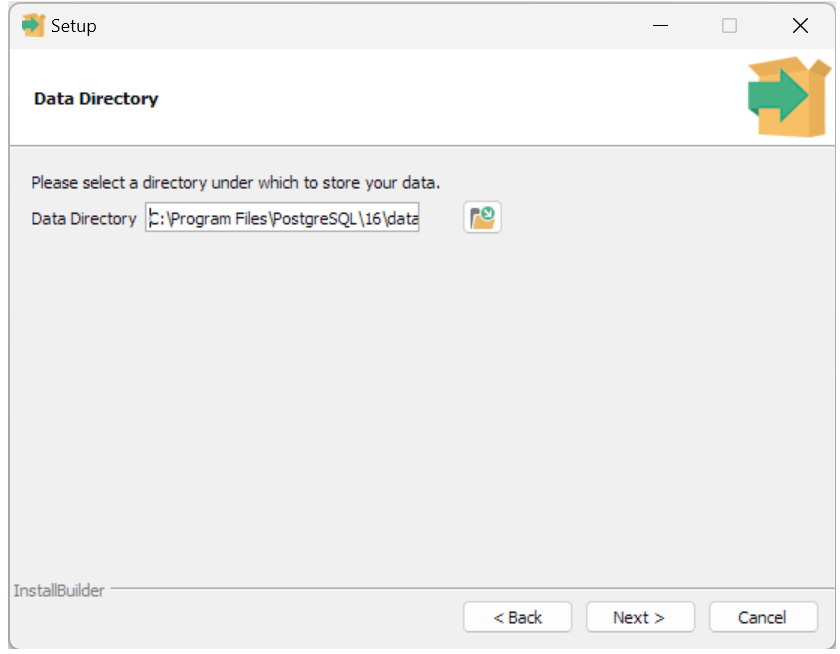
Step 8: Data Directory Configuration
Determine where PostgreSQL will store its essential database files by configuring the data directory. This step is pivotal for future data management and backups, ensuring your PostgreSQL setup on Windows seamlessly integrates with your project’s requirements.
Step 9: Assign a Superuser Password
Strengthen the security of your PostgreSQL installation by assigning a robust password for the superuser account, commonly named “postgres.” This password is fundamental for administrative tasks and safeguarding your database from unauthorized access on Windows.
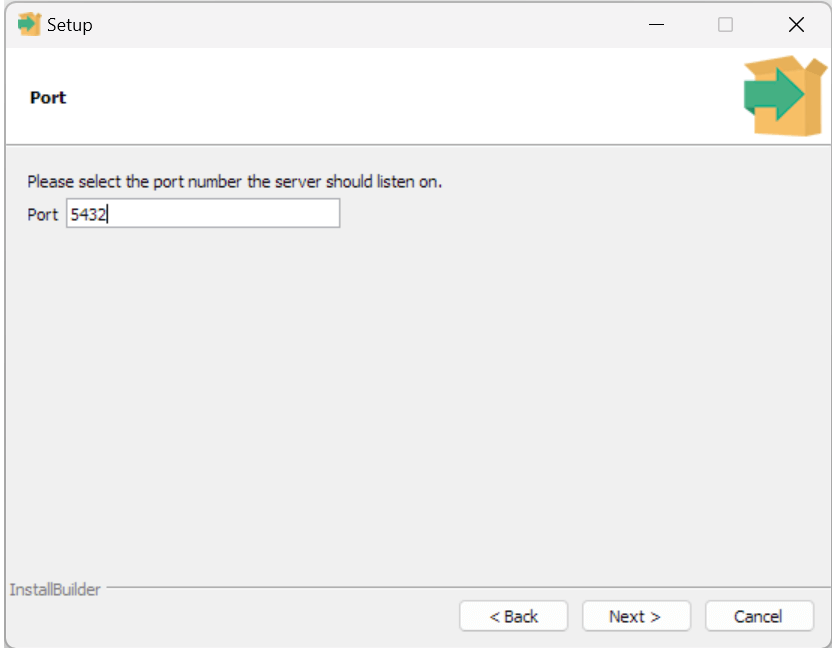
Step 10: Port Configuration
Configure the port number through which PostgreSQL will communicate. The default port is 5432, but altering it might be necessary to avoid conflicts with other services on your Windows machine. Ensure smooth connectivity for your PostgreSQL installation.
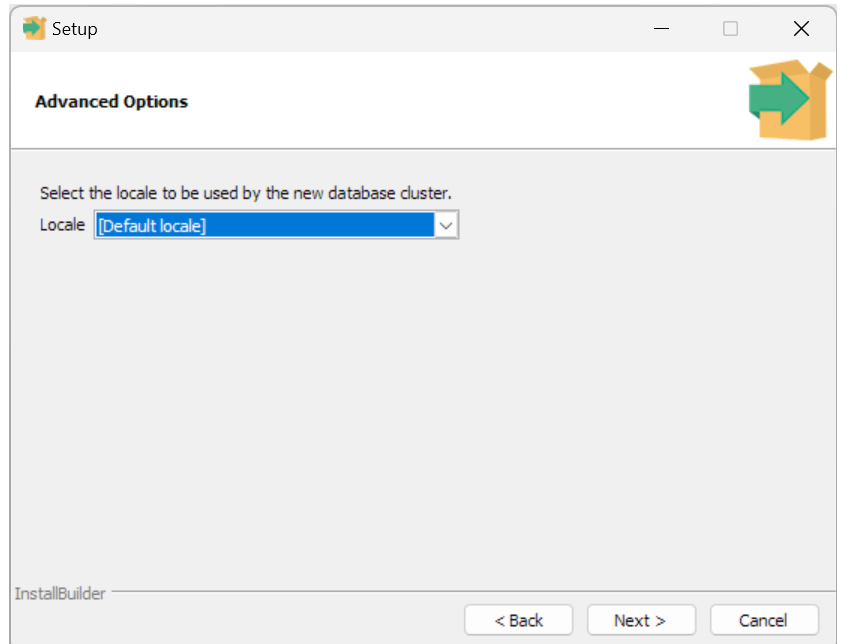
Step 11: Locale Configuration
Choose the locale that aligns with your language and regional preferences. This setting ensures proper character encoding for your PostgreSQL database, enhancing compatibility and ease of use on your Windows system.
Step 12: Additional Configuration Options
Explore additional configuration options presented by the wizard, such as the installation of Stack Builder or specific spatial extensions. Customize your PostgreSQL installation further based on your project’s unique requirements on Windows.
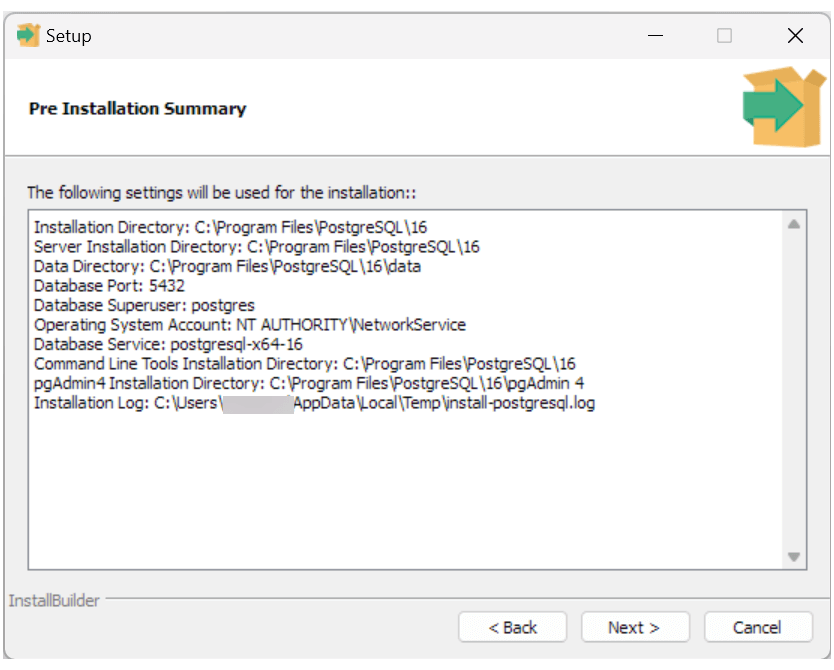
Step 13: Ready to Install
Review the summary of your chosen configurations presented by the wizard. Ensure everything aligns with your project goals and click “Next” to initiate the PostgreSQL installation process on your Windows machine.

Step 14: Installation in Progress
Sit back and relax as the installer diligently works through the installation process. This might take a few moments, but the result is a robust PostgreSQL setup on your Windows system.

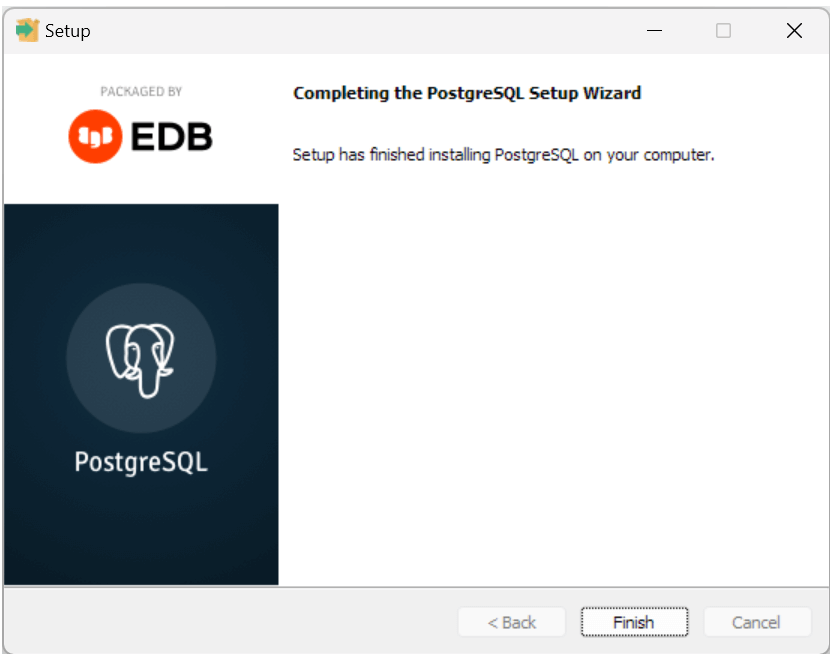
Step 15: Installation Complete
Celebrate the successful installation! The wizard notifies you when the process is complete. Click “Finish” to conclude the installation and proceed to the next steps of verifying your PostgreSQL setup.
Step 16: Verify the Installation
Validate the success of your PostgreSQL installation by testing its functionality. Open the command line or use a graphical tool like pgAdmin to execute a test query. Ensure that your PostgreSQL instance is up and running smoothly on your Windows machine.
Step 17: Congratulations!
Congratulations on successfully installing PostgreSQL on your Windows machine! With this robust database management system at your fingertips, you’re well-equipped for seamless development and data management. Dive into the world of PostgreSQL and stay tuned with Hostbillo for further insights on our blog, guiding you through the intricacies of database management, development, and beyond!
Also Read: How Do I Run and Install Git on Windows?
Conclusion
In concluding this comprehensive guide, you’ve successfully navigated the intricate process of installing PostgreSQL on your Windows environment. Your journey began with a purposeful visit to the official PostgreSQL website, where the careful selection of the appropriate version ensured a foundation of stability and feature-rich capabilities for your Windows installation. By tailoring your setup through component selection, you’ve customized PostgreSQL to meet the unique requirements of your projects, incorporating additional modules and tools that enhance your development experience.
With a keen focus on security, you fortified your PostgreSQL installation by assigning a robust password to the superuser “postgres” and meticulously configuring ports, data directories, and locales. Exploring additional configurations, such as Stack Builder and spatial extensions, showcased a commitment to maximizing the potential of PostgreSQL on Windows. The verification step confirmed the success of your installation, and now, armed with a smoothly running PostgreSQL instance, your Windows environment is poised for advanced database management.
Whether you’re developing applications, managing data, or exploring the vast capabilities of PostgreSQL, this guide has equipped you with the foundational knowledge to navigate the intricacies of PostgreSQL on Windows successfully. Thank you for choosing our step-by-step guide, and here’s to a seamless PostgreSQL experience in your Windows development endeavors!