
Summary
In the dynamic landscape of cross-platform file sharing, Samba stands as a pivotal tool, fostering seamless collaboration between Linux and Windows environments. This comprehensive step-by-step guide delves into the intricacies of configuring and installing Samba on Ubuntu, elucidating each crucial aspect of the process. From the initial setup to accessing shares across OSs, this guide ensures a smooth transition into the world of Samba on Linux.
How to Install Samba on Ubuntu?
Step1: Installing Samba
Samba, a widely employed open-source software, facilitates seamless file and print sharing among Linux and Windows systems. Assuring your system is up to date is crucial for a smooth installation. Open a terminal and operate the given below commands to update and upgrade your packages:
sudo apt update
sudo apt upgrade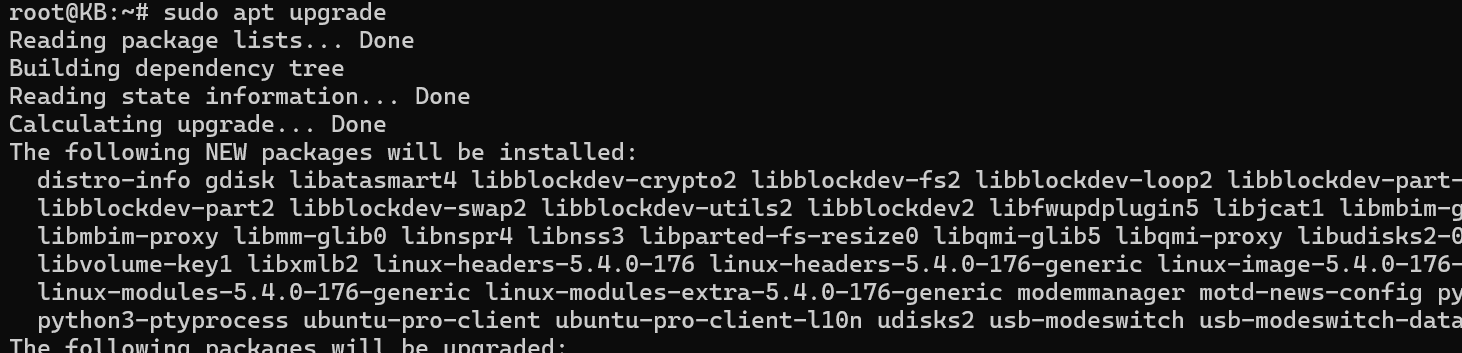
With the system updated, proceed to installing Samba on Ubuntu:
sudo apt install samba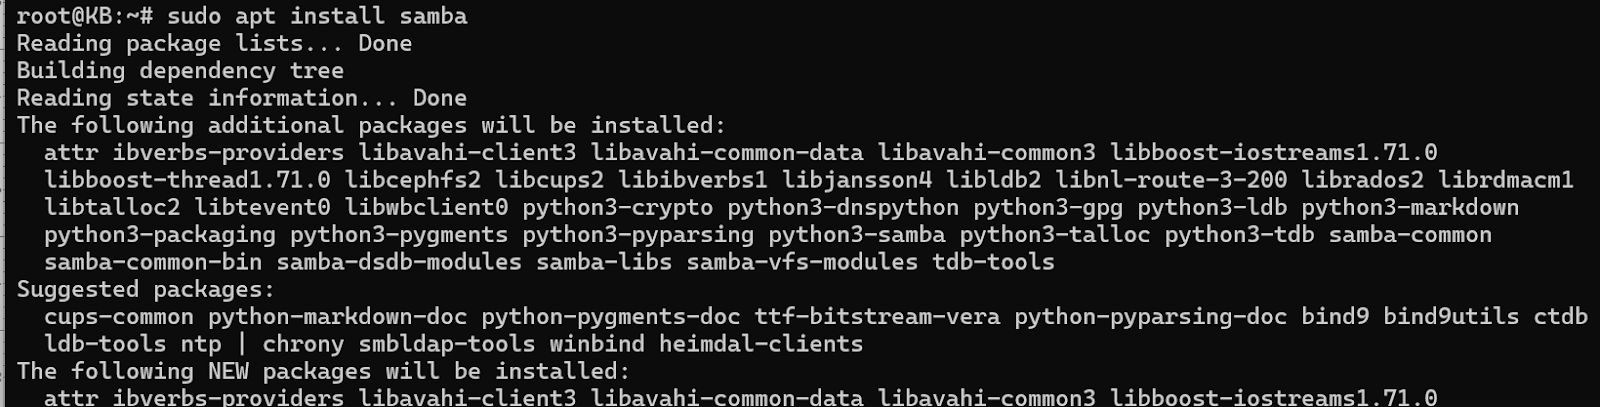
After successful installation, verify the Samba version to ensure a correct installation:
smbd --version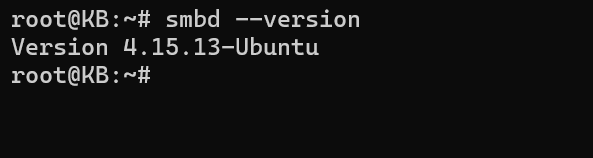
This step guarantees that you have the latest version of Samba installed on your Ubuntu system, ensuring compatibility and access to its latest features and improvements. With this foundation laid, you can confidently move on to the subsequent configuration steps.
Step 2: Sharing Directories with Samba
Once Samba is installed, the next crucial step is configuring it to share directories seamlessly. Begin by identifying the directory you wish to share and then modify the Samba configuration file accordingly. Open the Samba configuration file using a text editor like Nano:
sudo nano /etc/samba/smb.conf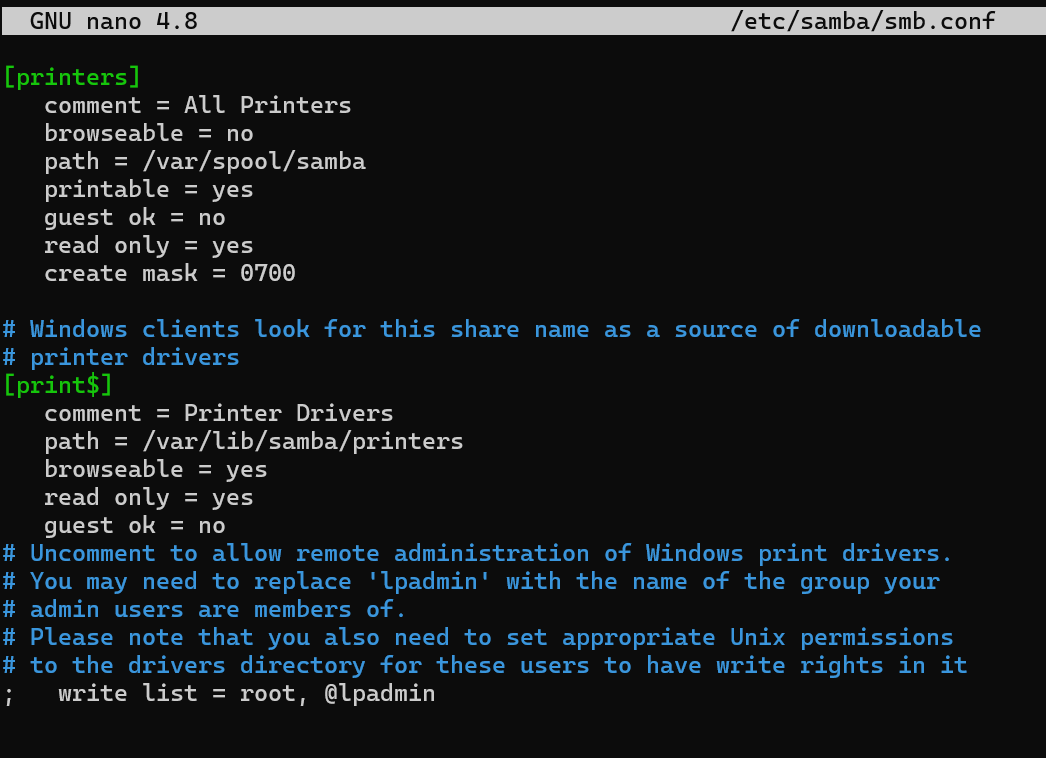
Within the configuration file, navigate to the [global] section, and append the following lines:
[shared_directory]

  path = /path/to/your/directory

  read only = no

  guest ok = yes
Ensure to replace “/path/to/your/directory” with the precise path of the directory you intend to share. Save the file and exit the text editor to commit the changes. This step establishes a link between the chosen directory and Samba, allowing it to be accessible across the network.
Step 3: Construct Samba Users
For seamless access to Samba shares, users must have corresponding Samba accounts. Create a Samba user by executing the following command in the terminal:
sudo smbpasswd -a username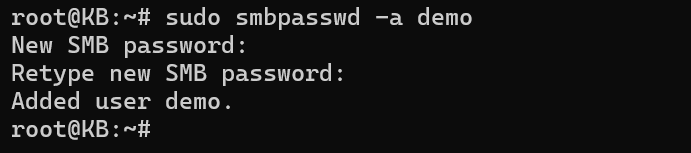
Replace “username” with your preferred username. Upon execution, you’ll be prompted to set a password for the recently constructed Samba user. This step ensures secure access to shared directories, enhancing data protection and user-specific permissions within the Samba environment. Each user accessing Samba shares will require a dedicated Samba account, reinforcing security and personalized access control over the shared resources.
Also Read: How do I uninstall a package in Ubuntu?
Now that you have configured Samba, accessing the shared directories from a Windows machine is straightforward. Open File Explorer on your Windows computer and enter the following in the address bar:
\\ubuntu_hostname_or_IP\shared_directoryReplace “ubuntu_hostname_or_IP” with the actual hostname or IP address of your Ubuntu machine, and “shared_directory” with the name specified in the Samba configuration. This simple step establishes a network connection between your Windows system and the Ubuntu machine, allowing you to seamlessly navigate and interact with the shared Samba directory directly from the familiar File Explorer interface on Windows.

To access Samba shares from a Linux machine, employ the following command to mount the Samba share:
sudo mount -t cifs //ubuntu_hostname_or_IP/shared_directory /mnt/destination_folder -o username=username,password=password
Ensure to replace “ubuntu_hostname_or_IP,” “shared_directory,” “destination_folder,” “username,” and “password” with your specific information. This command initiates the connection between your Linux system and the Samba share, allowing you to access and interact with the shared content seamlessly. The mounted Samba share becomes accessible within the specified destination folder, providing Linux users with a streamlined way to work with files and resources stored on the Samba-enabled Ubuntu machine.
Also Read: Ubuntu LTS Desktop Installation Steps {In Detail}
Conclusion
In conclusion, this step-by-step guide demystifies the process of installing Samba on Ubuntu, emphasizing the significance of configuring Samba for Linux environments. The seamless integration and secure connections forged by this guide empower users to harness the full potential of Samba, fostering collaborative file sharing between Linux and Windows with finesse. By following these steps, users can confidently navigate the intricate landscape of Samba configuration in Linux, unlocking a world of interconnected possibilities for cross-platform collaboration.